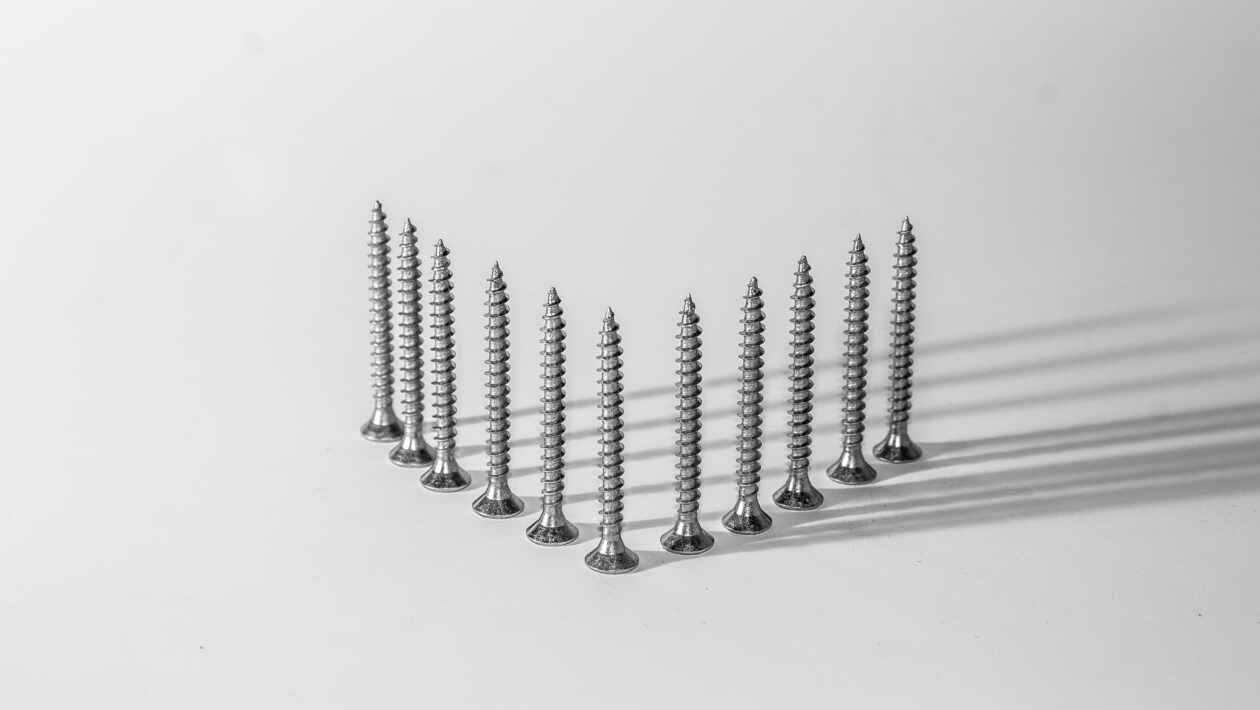
When you are embarking on a new DIY project, it’s important that you take the time to plan it out the right screw for DIY project and ensure that you have all the tools and materials that you will need before you get started. If you don’t, you could find yourself stuck in the middle of a project without the things you need to finish!
Screws are an integral part of any building project, especially if you are using wood. Although the different types of screws may all look the same stood side by side on the shelf at the DIY store, there is actually quite a difference between the functionality of different screws, and choosing the wrong one can mean that all your hard work goes to waste as your build won’t stand the test of time.
Table of Contents
Material
The first thing to consider when choosing the right screw for DIY project, the material that you will be drilling into. Screws are generally labeled according to their use, for example, they might be labeled as woodworking or metal so it’s important to pay attention to this when you are choosing your screws.
Size
As well as the type of material, it’s also important that you take into account the size of the material. If, for example, you were joining heavy timbers or joining metal to timber, the type of screw that you would need is a coach screw, sometimes known as a lag bolt.
Coach screws have two measurements. The ‘M’ rating is the diameter of the screw thread, and the measure in mm is the length of the screw from head to tip.
If, for example, you wanted to use M10 coach screws to fix a three-quarter of an inch board into the end grain of another board, you would need to pass all the way through the first board and then go deep enough into the second board to get a good grip. Therefore, you would want to ensure that the length of the right screw for DIY project at least one-and-a-half inches.
How deep the screw needs to go into the receiving board is partially dependent on the load type.
Load Types
There are two load types to consider when you are joining materials together, lateral and withdrawal.
Lateral loads are when two boards that are joined together are subjected to a sliding pressure, for example in a kitchen cabinet with a sliding door. To account for lateral loads you will need to use a thicker screw.
Withdrawal loads are when the two surfaces that are joined together are trying to be pulled apart. To compensate for a withdrawal load, you should increase the length of screw that is in the receiving material, or add more screws.
Drilling Tips
If you are drilling into wood you can sometimes find that the wood splits. Therefore, it is a good idea to drill a hole that is slightly narrower than the thickness of your screw which you can then drive the screw into, rather than going straight ahead with drilling. This is sometimes known as a pilot hole.
It can also be helpful to coat the threads of your screw with a little soap from a bar before beginning drilling, as this will act as a lubricant. This means both less effort for you, and less strain on the wood which is what can lead to splitting.


